Tools & Supplies for Building MFH Kits
As with most any project, having the right tools for the job is half the battle.
These are all things that I either use every day, or that I need once in a while and am really glad to have them when I need them.
I think any craftsman will tell you that you'll never regret investing money into high quality tools. This is a lesson that I seem to keep learning over and over.
Magnetic Tumbler
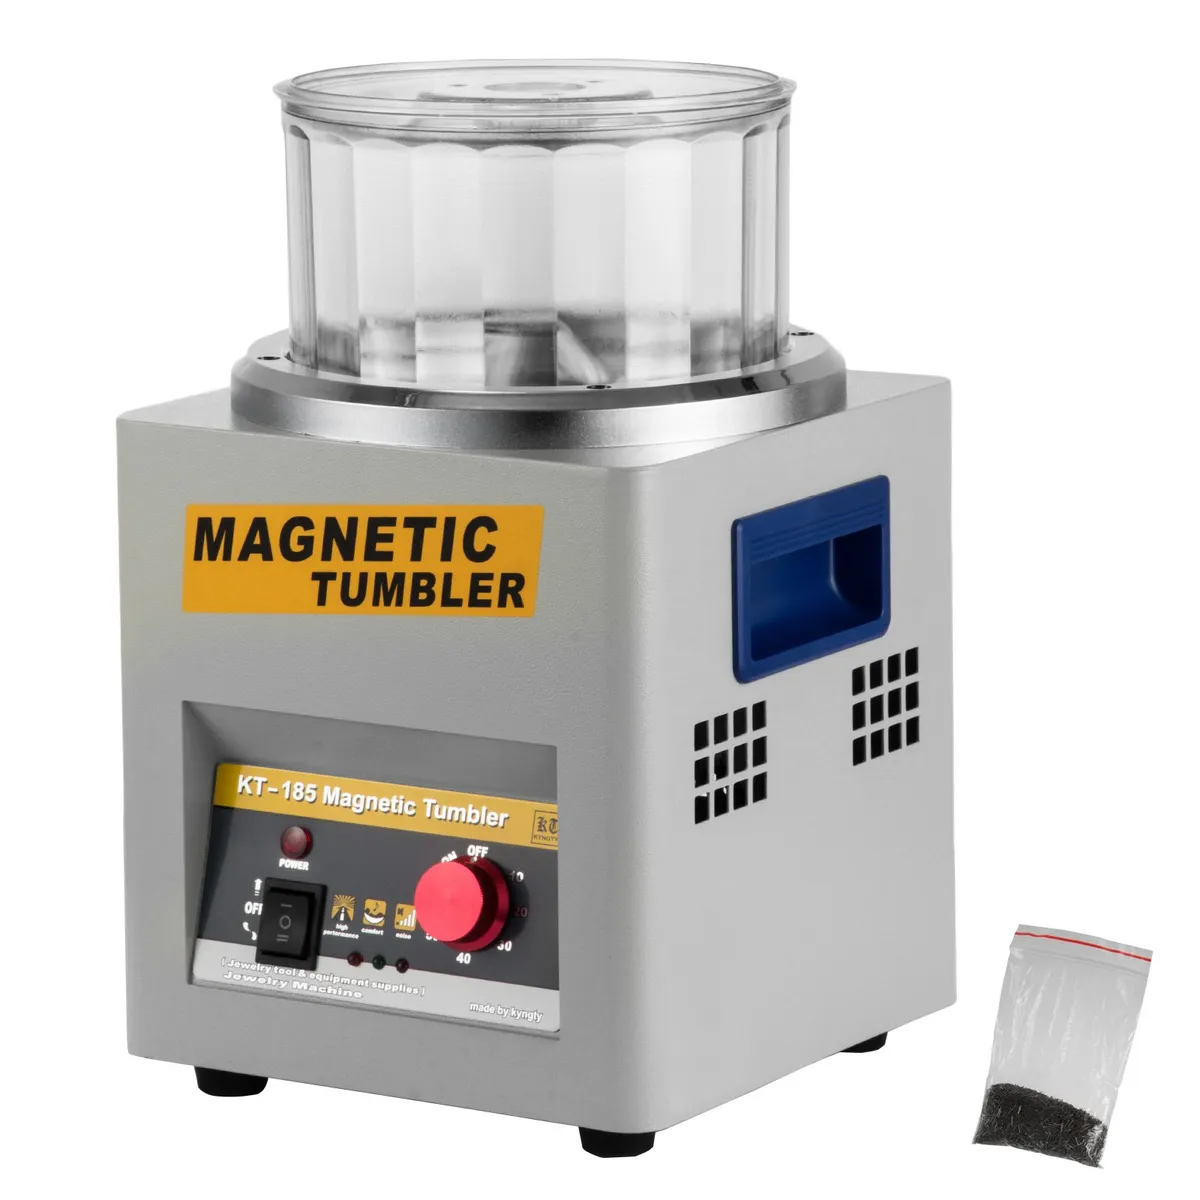
Buy this thing as soon as you even think about getting an MFH kit.
I'm going to make a bold statement and just say that one of these is required if you're going to get into MFH kits. Sure, technically you can clean all of the parts by hand, but for the ~$200 one of these costs, you'd be crazy to do so. We stopped trying to save money as soon as the letters "MFH" caught our attention anyway.
They're basically all the same white-labeled Chinese unit, as far as I can tell.
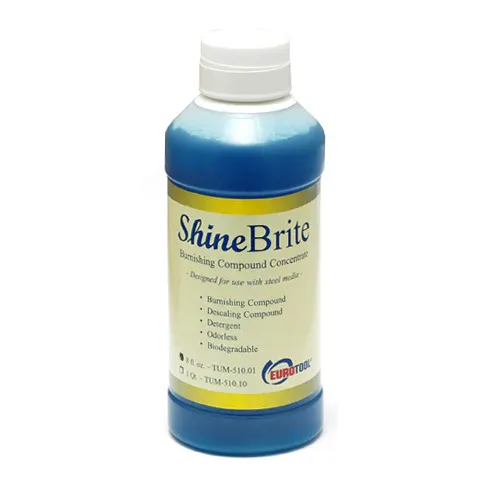
I use the polishing "pins" (vs. the balls), fill it just over the bump in the middle with water, and pour in the smallest amount of Shine Brite that I can tilt out of the bottle.
I drop the parts in for 40 minutes and they come come out clean and ready to be prepped. I can't even imagine how many extra hours it would take to do it all by hand, and that's to say nothing of the value to your sanity.
You can even run very small parts (e.g. rivets) through the tumbler without much concern. I've noticed a tiny bit of malformation on the especially delicate parts, but they all come bent up out of the box anyway, so it hasn't stopped me from running anything through it.
Be careful while you dig around through the pins taking your parts out though: The pins are the perfect size to fit under a fingernail. I know this for a fact.
Primarily, I use the tumbler to literally just clean the parts for the first time. When they come out of the bag they are truly greasy and dirty and covered in mold release, and half an hour or so in the tumbler turns them into a totally different thing.
After I've sanded/finished each part, I'll then throw it back in for another 30-40 minutes. Don't have too many illusions-- this unit isn't going to sand the parts for you, but they will clean and ultimately get a decent enough shine if that's what you're looking for. For mirror-shine you'll finish by hand.
Pin Vise
The pin vise may actually be your most used tool through the build. I simply cannot understate how many holes you'll be drilling.
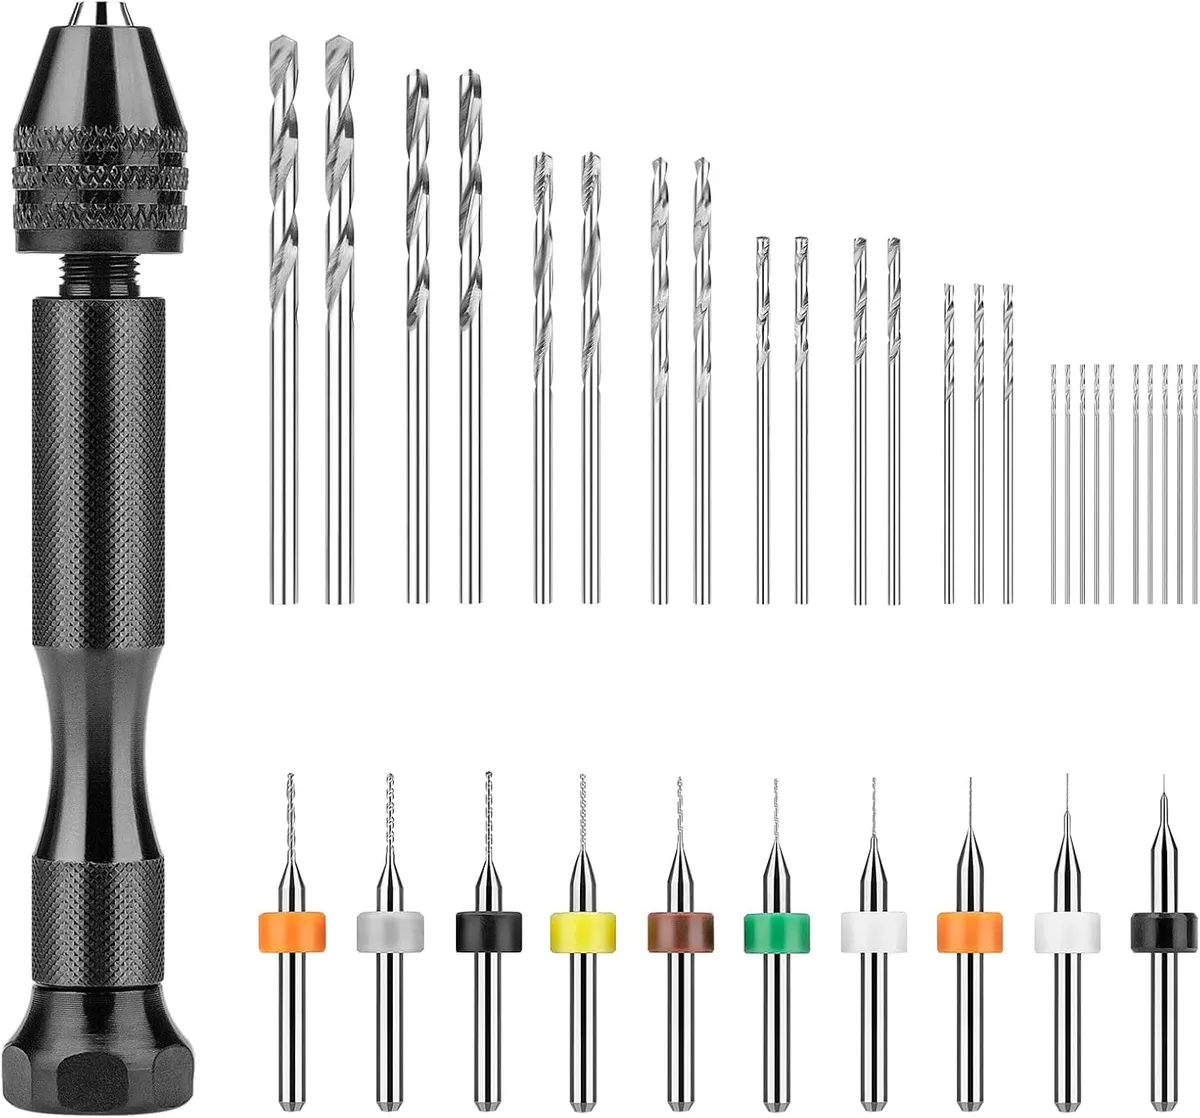
The actual drill bits are much more important than the pin vise itself, but get a decent one. As they say, mattresses, tires, and pin vises... right?
Buy 3 sets of the mini drill bits (I'm not shitting you. Literally order 3 sets, they will break.)
And then find yourself a high quality set of small bits in the 1mm range. Having sharp drill bits makes life immensely easier during this process.
And for the love of god, be careful with this thing because in my experience it's the hand tools that always hurt you (since you're being less careful with the "less dangerous" non-power tool).
I've stabbed myself in a major way with the drill bits several times, one of which actually broke a tiny bit off into my thumb. Luckily, it worked it's way out, but it could have easily been worse.
Rotary Tool
This one might be more of a luxury than a necessity, but when you need it, you'll be glad you have it.
From polishing metal, power sanding, or even cutting large metal parts, the rotary tool is a clutch piece of kit. To get the doors to fit, I had to cut them in half, and doing that with hand tools would have been quite the pain.
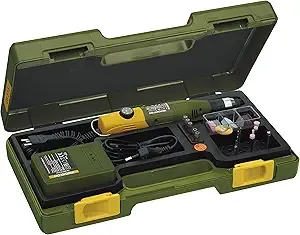
I have this Proxxon and I quite like it, but I'm not a power tool expert so if you don't think highly of Proxxon go for something else.
Pro tip: Get a foot pedal.
Second pro tip, these are the polishing bits you want:
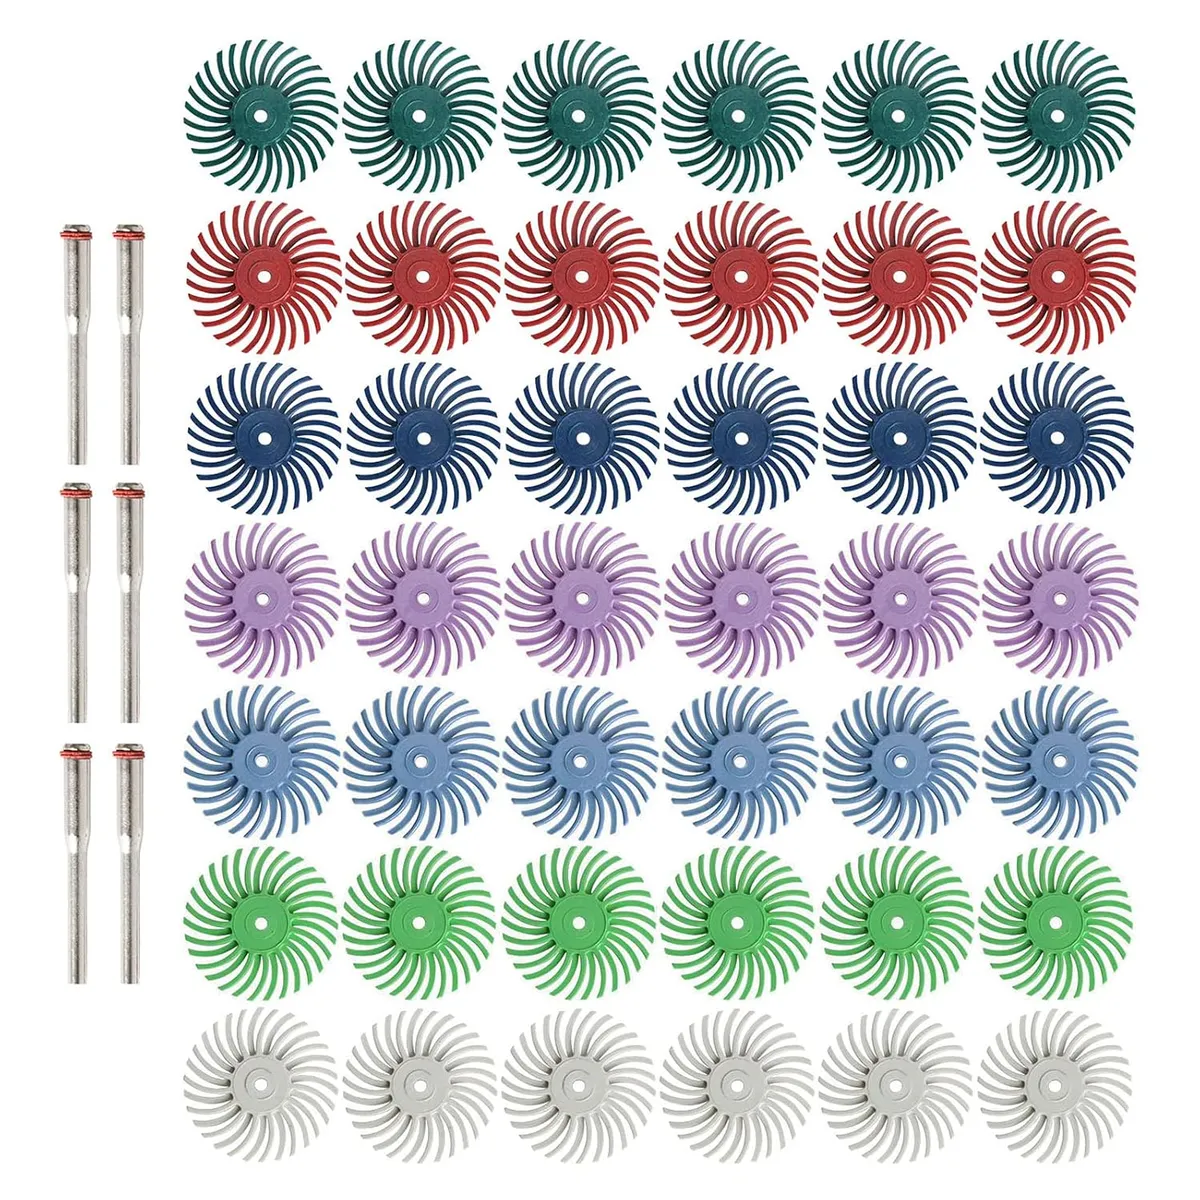 They are knockoffs of an expensive 3M product, but they work well. Do not buy the "puffy" style ones off of Amazon - they are junk and basically disintegrate while in use.
Files
Although you can (surprisingly) sand white metal down quite well with standard sanding sticks, you're going to need a set of files for the "big work".
A lot of these parts come out with significant burrs, require reshaping, have mold lines, etc, and you'll want some decent files for that. I have a basic set that I bought from my local shop when I first started out, and they've served me well.
The only thing I might do is get a few more sizes, because occasionally you do want a big one.
Sanding Sticks
I know you already have your own abrasives of whatever your preference may be, but I'd recommend getting a second set specifically for use with the white metal. It kind of wrecks them and I don't want metal residue on my plastic kits.
I like Infini sanding sponges and think they are the best.
Soldering Iron
Soldering white metal isn't a requirements, but it's a nice tool to have in your toolkit, both literally and metaphorically. It's very nice to know that you can cut the white metal apart and weld it back together.
I just have a cheap Amazon soldering iron, but it is adjustable temp. I run it at about 550 degress Farenheit.
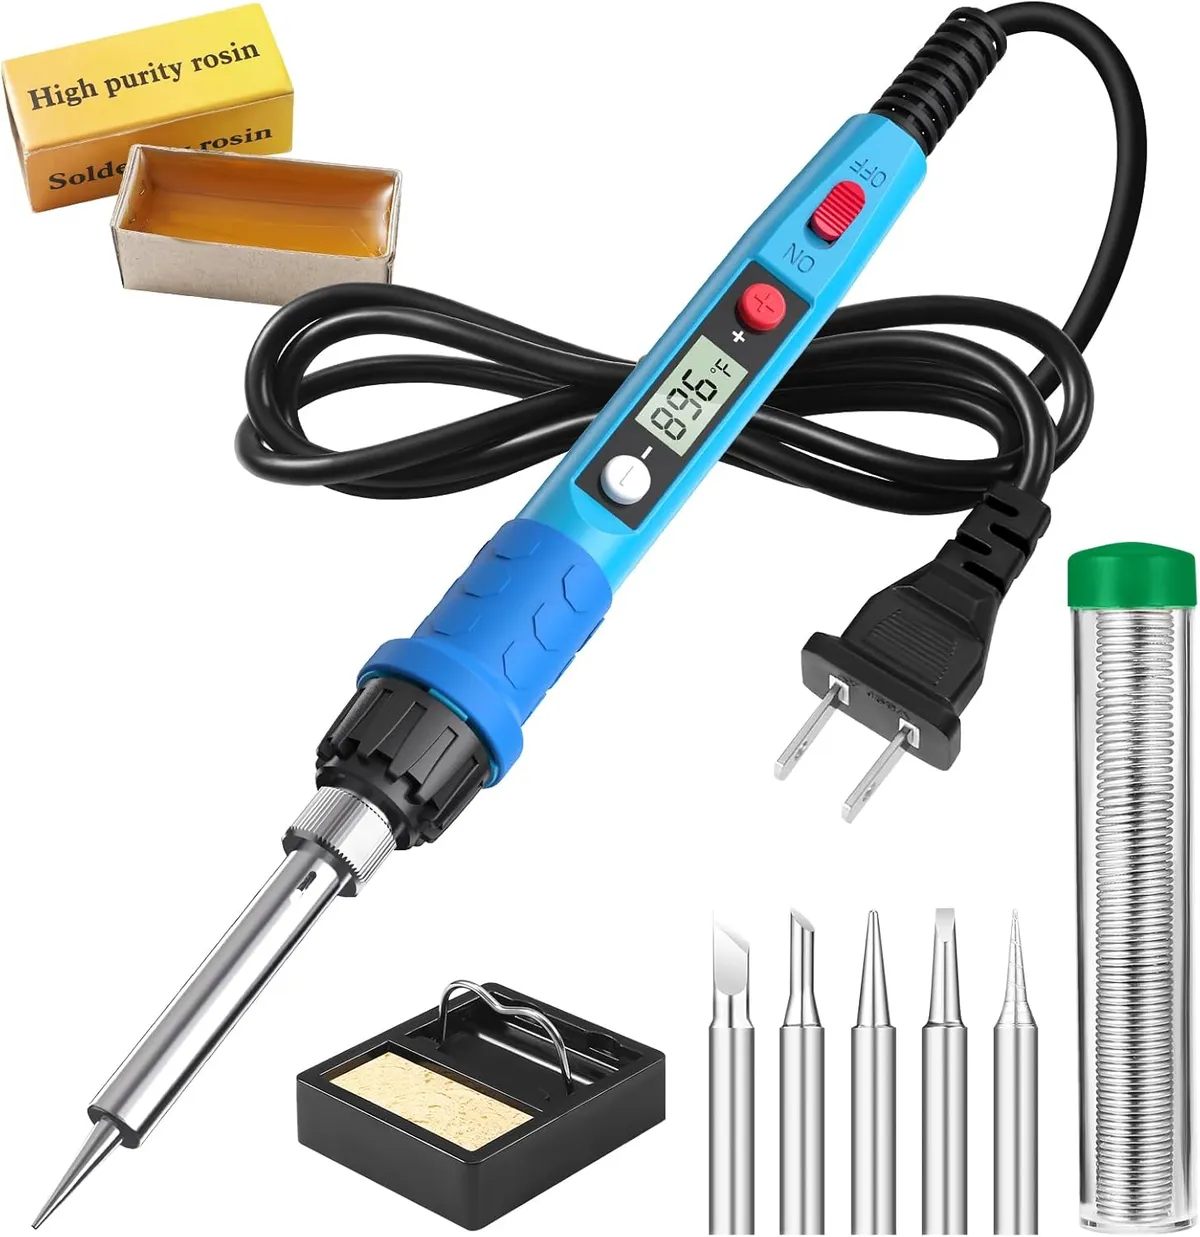
Maybe spend more than $9 on yours though. It's never bad to have good tools laying around.
You can probably get away without any soldering, but this build absolutely required it at least once, so I feel obligated to include it here.
Just make sure that you have some good liquid flux.

And low temp solder. You want the thick rods, and not the spool of wire like you may be used to seeing.
Of everything discussed here, soldering is easily my weakest skillset and largest knowledge gap. So I don't know why these things are critical, but they are, and with them even I have become reasonably handy with the soldering iron. Your mileage may vary.
Jewelers Screwdrivers
I don't know if it's to the same extent with the newer kits, but the 917 certainly uses a lot of these little screws to go together.
So naturally, you need...
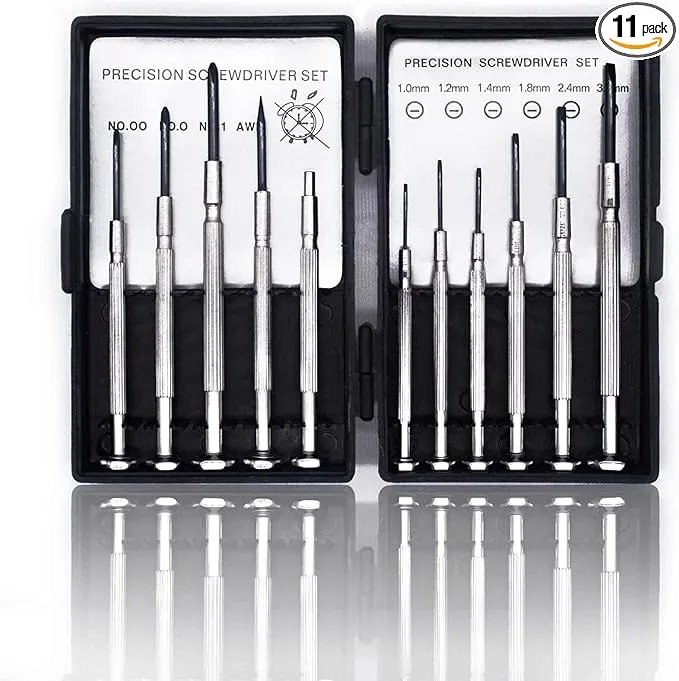
A little screwdriver. 98% of them are the same size but then there's two that aren't so you may as well get the little set of them.
Tamiya Extendable Knife
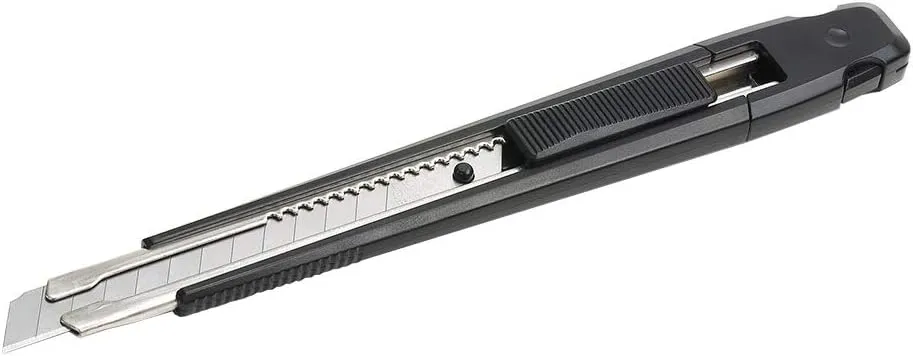
White metal is soft enough that you can cut/shave it off like plastic, but hard enough to dull knife blades down quickly. Plus, X-Acto blades just feel a little too prissy for that type of work.
Because of this, I have this Tamiya knife with the snap-off blades that feels a little better for the more brutal work of shaving down metal. It's just something I like.
Nippers
Again, the main surprise about white metal is that it's soft enough to be cut with standard nippers. And some of the parts do come on little sprues to be cut off of.
Alert: Keep those sprues after cutting them, as a source of scrap white metal. You never know when you'll be soldering and need to fill a gap.
I just use my previously-nice Tamiya nippers for this job. They were old enough that I didn't mind dulling them down, I still have my Godhand nippers for precision, and yet it doesn't totally ruin them either.
So, use whatever you feel is appropriate. You don't need big old cutters from Home Depot though.
Adhesives
Say goodbye to your beloved Tamiya Extra Thin!
Super Glue
Most of the kit will be assembled with CA glue. I use medium-dry for most of it. Get some slow-dry for certain parts too.
Working with super glue seems terrible when you come from a plastic modeling background, but you get used to it quickly.
You'll even come to appreciate that with the metal parts and some debonder, you actually have quite a bit of leeway to play around with things.
That's become one of the biggest things I appreciate about doing the MFH kits, I just enjoy the workflow of the materials.
Debonder
Definitely get a bottle of super glue debonder. Sometimes you're going to want to take parts back apart, and the debonder allows you to do that and then clean the excess off.
You might even "dry fit" parts (or assemblies) by using super glue, to later take them apart with the debonder. It's a new mindset.
You'll also want to be able to clean up the excess, etc. You get the idea.
Epoxies
Get some 5-minute and 30-minute epoxy. It doesn't come up a ton, but there's parts where you want some more working time to get them to fit together properly.
For instance, I needed all of the cylinder heads to align into another external piece, and this necessitated letting them all set at once. You get it.
Maybe even get some JB Weld if things get super tricky.