Step 1: Engine
The start of this build presented what I figured would be the easiest and most difficult parts of this build, respectively: The engine, and the rear tube frame that contains it.
The engine is fairly manageable because it's simple fit-wise, but it does contain a lot of parts.
I think the first page of the manual alone has practically as many steps and parts as an entire Tamiya kit.
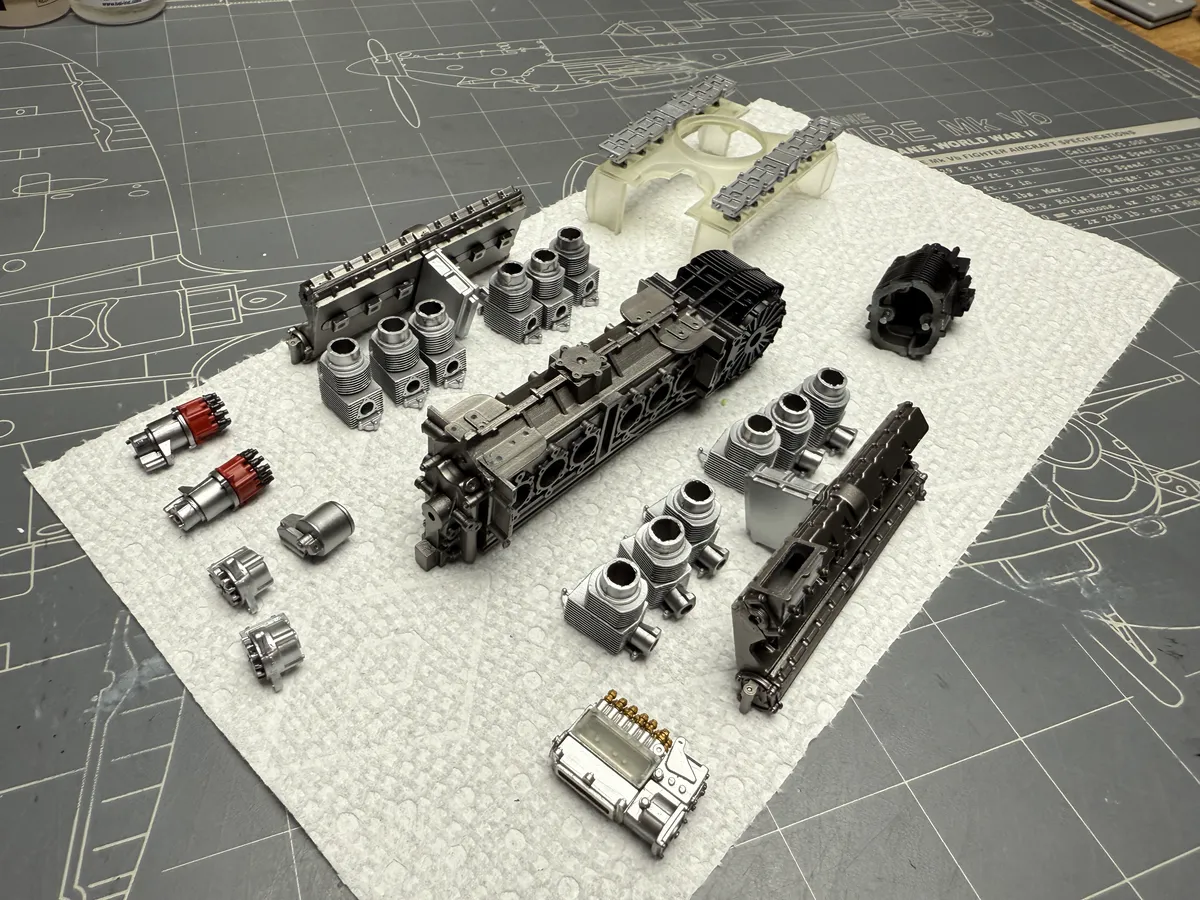
I start out by digging through the many parts bags for the parts I need, and roughly organize them by size.
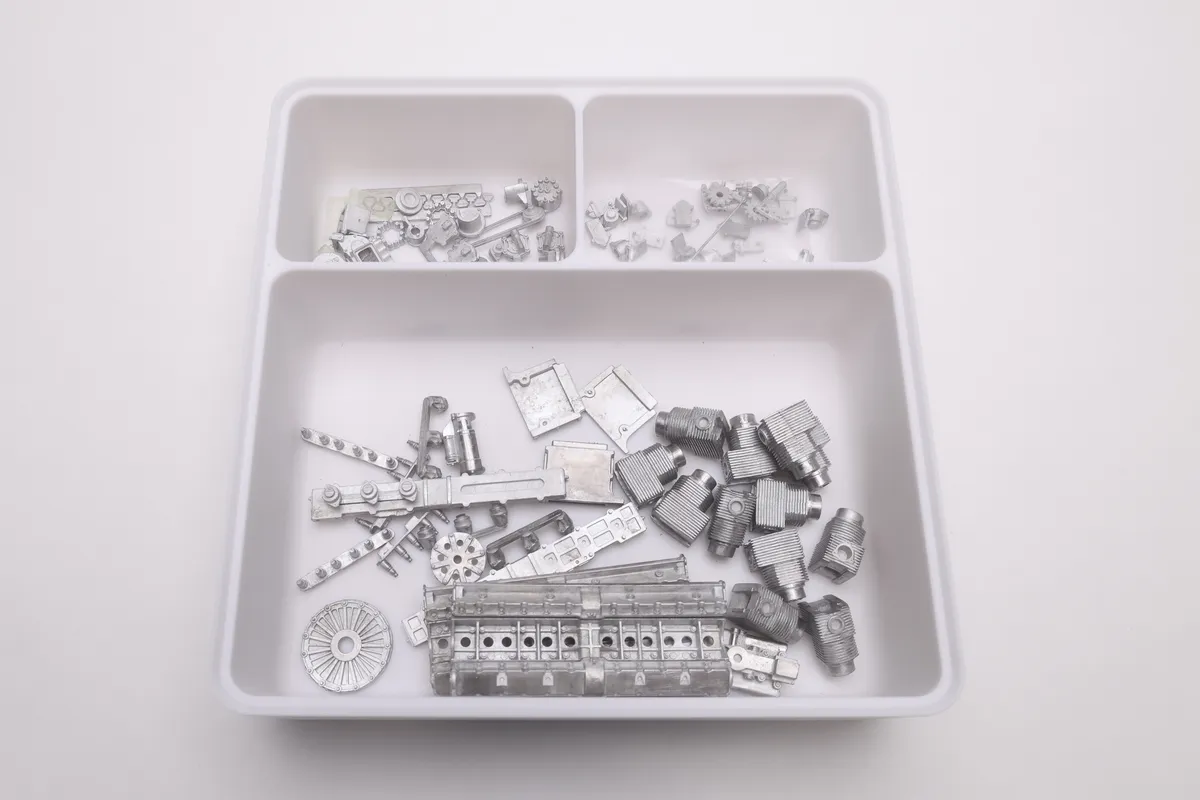
I've started 3D printing these organizers, and they're one of the best modeling accessories I have now. For normal projects they're handy, but for MFH kits they're essential.
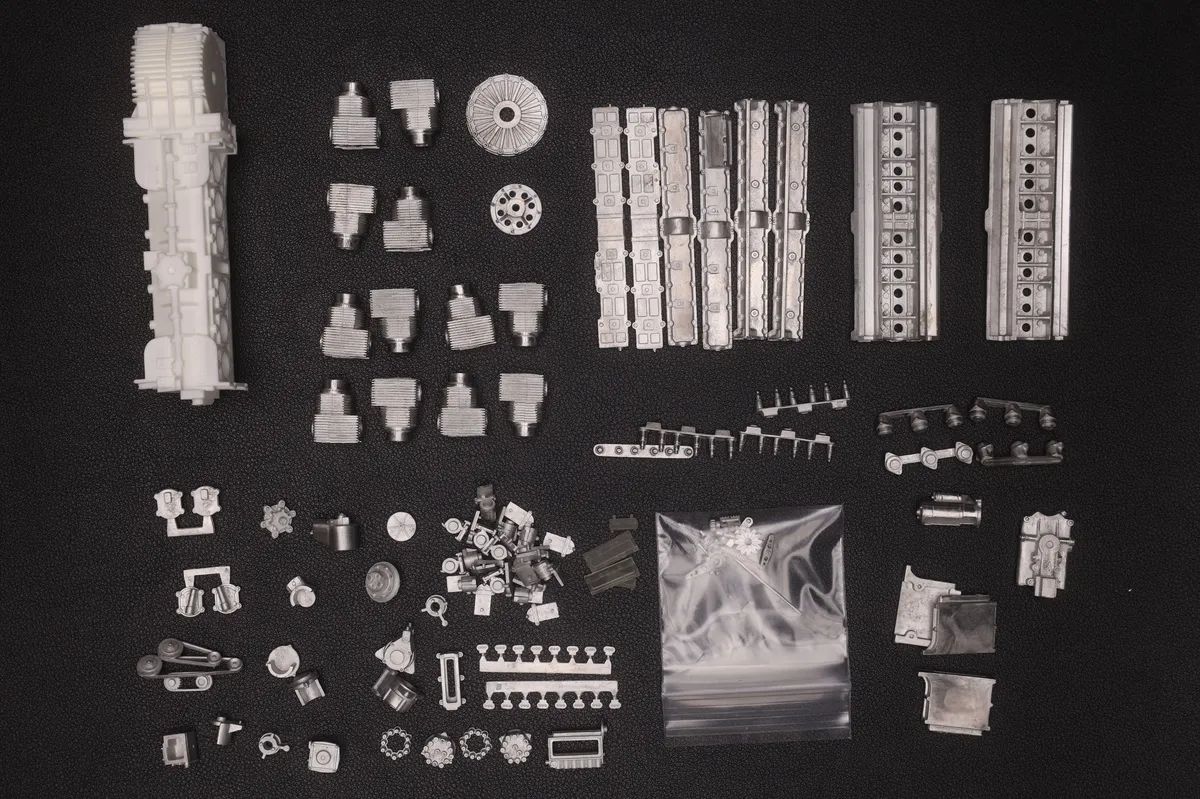
The engine itself is almost entire metal, save for the resin engine block.
I ran the parts through my magnetic tumbler and cleaned them all up, which took a long time with the sheer number of parts involved. The engine is straightforward in that it goes together without much fuss, but the complexity in number of parts is certainly there.
Once they're prepped, you can start deciding on your paint strategy.
Just about every part will need to be individually painted before being assembled, and most of them will in fact need to be painted. Part of the fun of white metal kits is that some of the parts don't need painting— you can simply polish them to a presentable finish. Whether or not this works aesthetically depends on the part in question.
I painted everything, but if you wanted to leave the cylinder heads in their natural state, I think that would be acceptable if you just give them a nice wash.
But hey, if you love painting I'm not gonna stop you.
To prime everything, I used the Gloss Black Primer of the Ammo Cobra Motorsports line which I wanted to start playing with on this project.
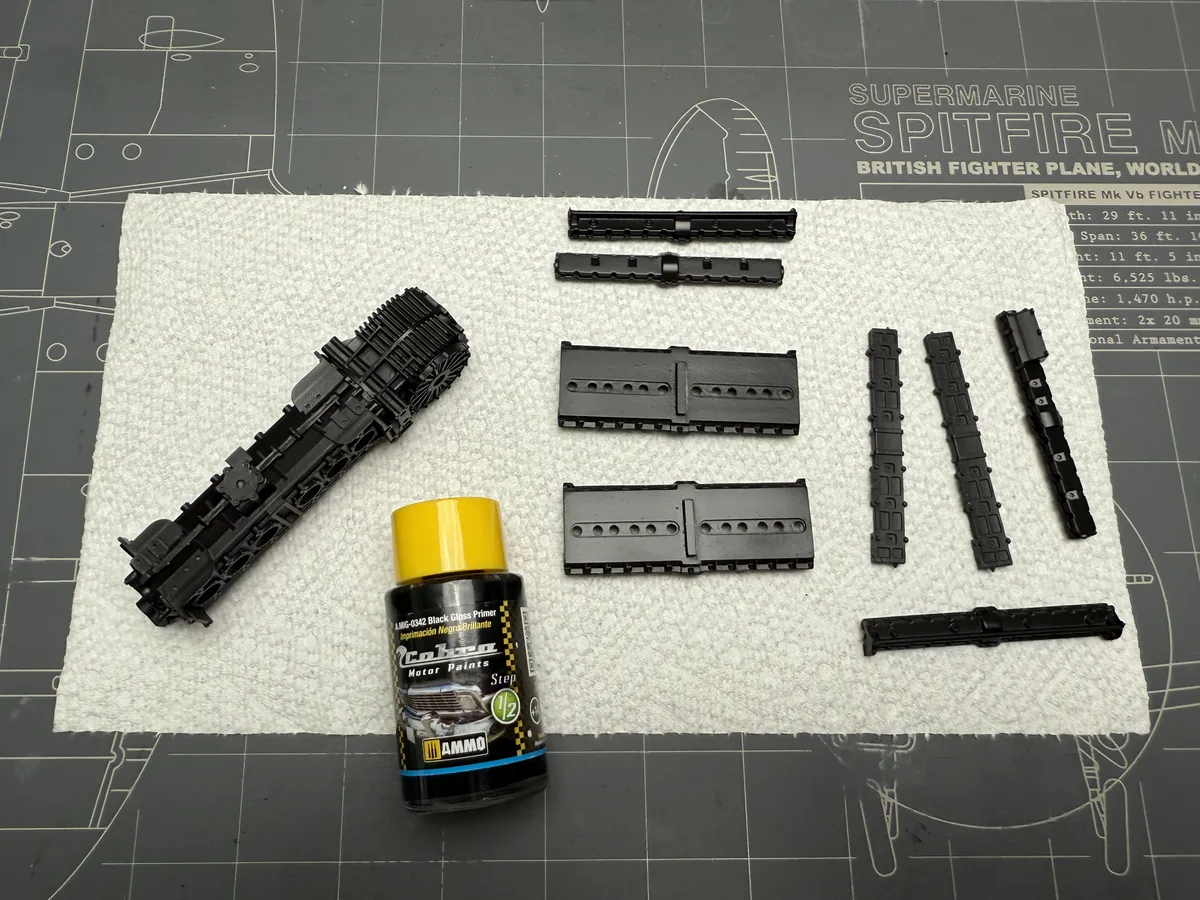
To my surprise, this stuff is really good for priming metal parts!
Even after all of the handling I put the engine through during this build, I barely had any flaking whatsoever. It's solid. Also, it's got a glossy enough finish that metallics lay on it nicely.
That said, it held up less well over the resin.
So unfortunately it's not the answer for that, but for general metal parts I definitely approve.
Once I had everything primed up, I went ahead painted everything in varying shades of metallic paint using Ammo's A-Stand metallics. The secret to these is that they are just Alclad in new bottles, due to some sort of copyright/trademark/etc. dispute or something of that nature.
Whatever the name is, Alclad is time tested and I was happy with the results.
The Gloss Black Primer doesn't prove a finish as fine as a finishing surfacer, but for these rough cast metal parts it's certainly sufficient.
That's one of the things you notice about MFH Kits— many of the parts themselves could be cast to higher quality standards, but once assembled they become something greater than the sum of their parts.
But anyway...
During the assembly of this engine, and the kit in general, you're going to be drilling A LOT of holes. Like, this is an exercise in hole-making as much as modeling. And the engine has a lot of small ones.
With that in mind, just get ahead of the issue and order 3 packs of the .1-1mm pin vise drill bits. I'm serious. They break, just get ahead of it.
Try to be as careful as possible though! I was able to extract most of my broken drill bits, but a few were stuck and as a result I'm down 2 spark plug wires.
Metal, is less forgiving than plastic. Even if it's soft white metal.
Putting it all together
You can assemble the smaller parts of the engine with CA, but for the cylinder headers I used 5-minute epoxy to make sure I had time to line everything up.
Basically, the cylinder heads all slot into the same big plate piece, and you want to make sure you have time to align them all.
But before you do that!
Each side contains two parts that you will need to drill out for the spark plug wires:
Drill these out large enough so that the entire wire (meaning, with the insulation) can fit inside.
I didn't drill mine out large enough before assembly/paint, and while it was fixable it certainly made my life harder.
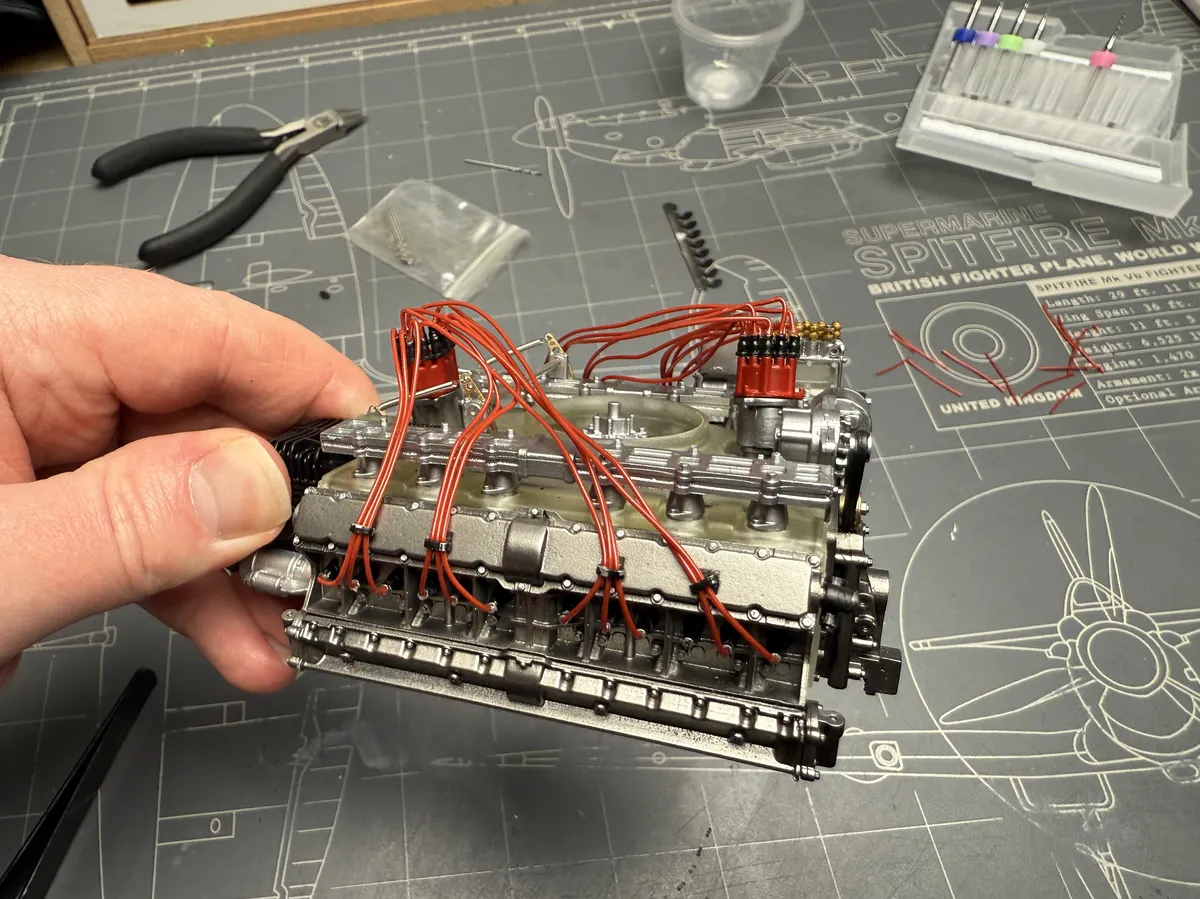
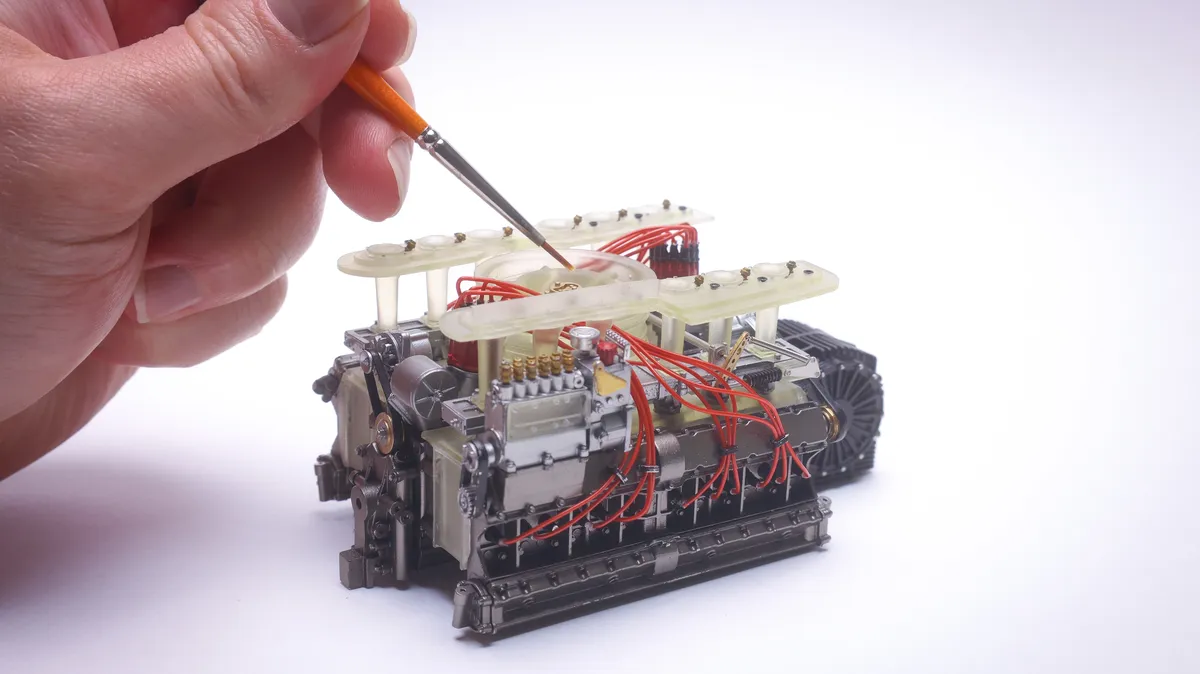
How to Wire Up the Engine:
This was my first time adding wiring to any model engine, and it was certainly an experience.
After fumbling and fucking up, I figured out what works:
Cut the red wire into ~3 inch segments for the closer ones, and about ~4 inches for the longer ones.
Dip the end of the wire into CA and plug it all the way into your drilled out hole.
Do all 3 wires, and once they are all glued in, put the wire organizer around them.
Once they are tied up, glue the wire organizer to the head and then you can finish routing them wherever they need to go.
I know this sounds a little simple or obvious, but if you've never done it before, this order of operations may not be immediately apparent. It wasn't for me.
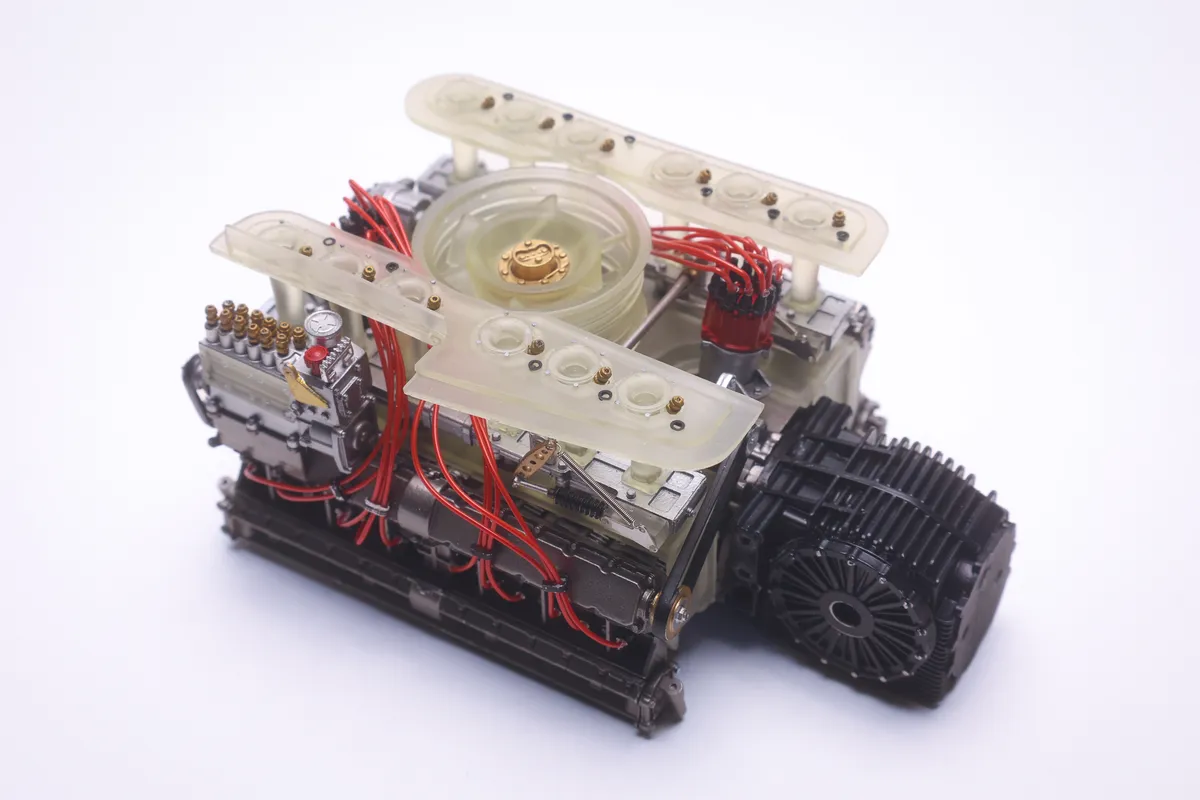
Although they are annoying, the wiring really does make the build.
After that, it's simply a matter of adding the amber tinted resin that's mean to represent fiberglass. It does a pretty good job I'd say.
All in all, the engine is a straightforward project, and a good introduction to the process.
It took me about two weeks of nights and weekends to get it finished, but I'm very pleased with the results.
There's really nothing notable about the construction process beyond the wiring process and primer/paint choices. That said, don't get complacent— make sure you still test fit as far out as you possibly can to ensure everything goes together smoothly.
I quickly learned that you can test fit steps 1-4, but step 5 will be the one that bites you. So make sure you test fit all the way to step 10, so to speak.
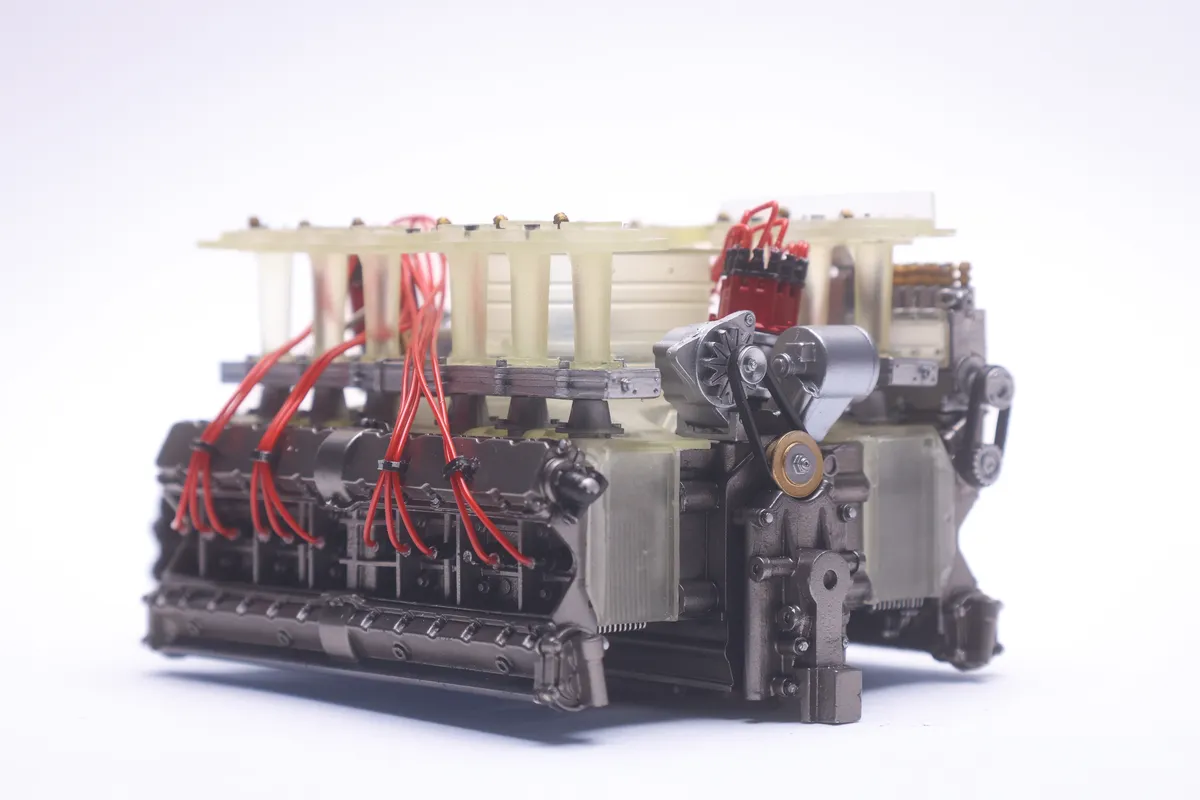
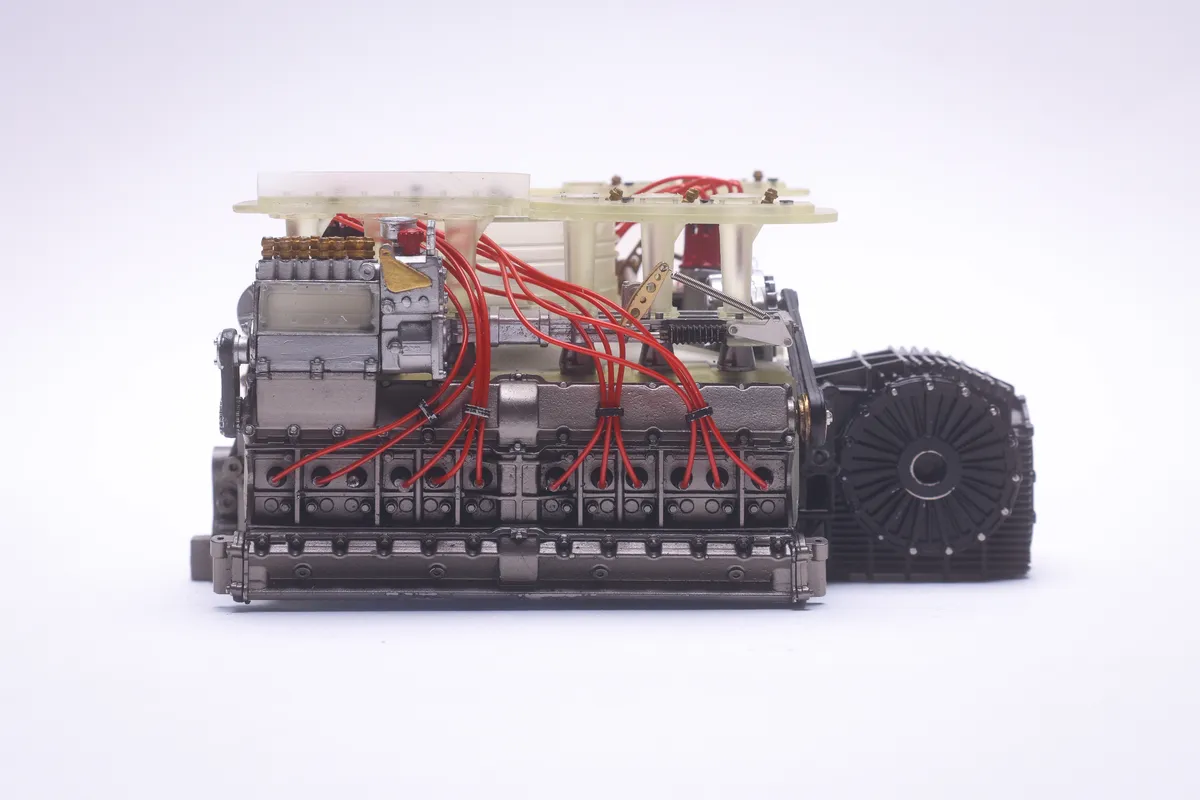
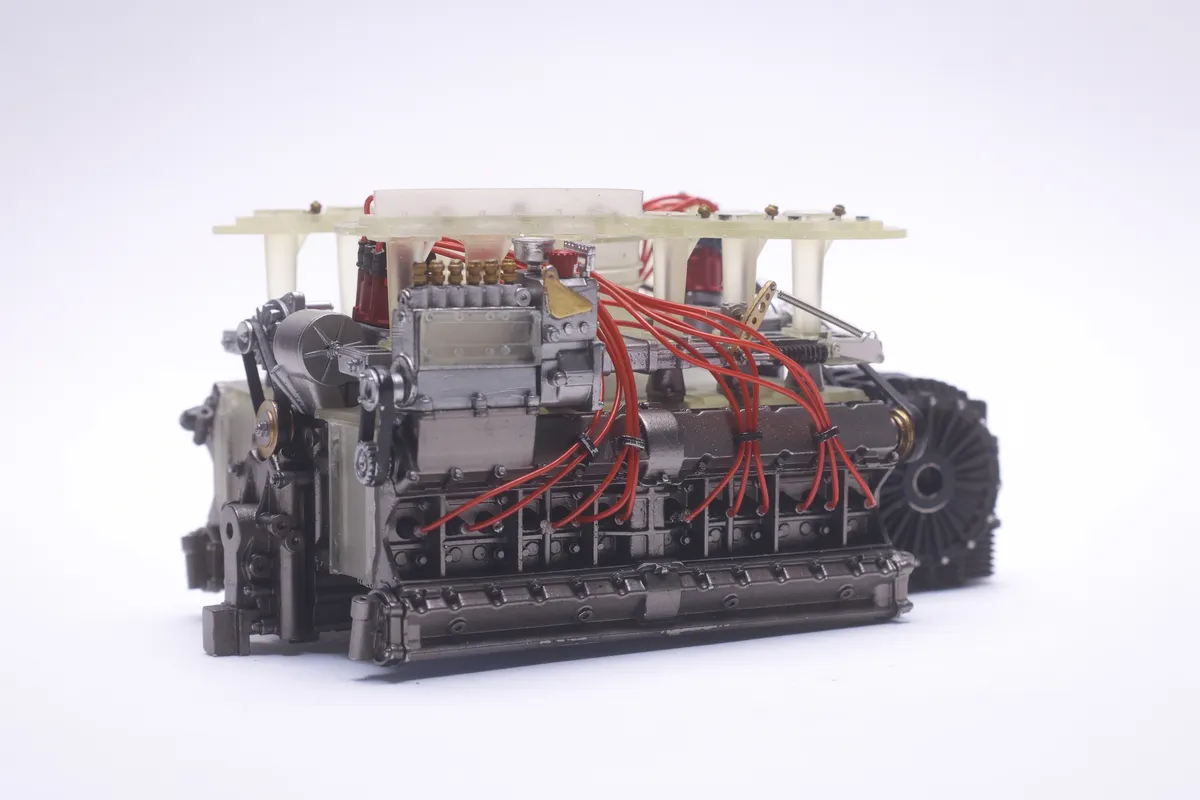
Here's a few glamour shots of the finished power unit.