Rear Frame
Model Factory Hiro builds are fun because (in some kits more than others) there are several nuclear showstoppers that are going to make or break the progress of the build.
The 917k has three of these:
- The rear tube frame around the engine.
- The front tube frame.
- The doors.
To a lesser extent the body shell is one of these, but that comes down to whether you get a warped part or not. I was very lucky and my rear clamshell fit onto the front quite well, leaving only the issues that were in my "control".
The first mountain
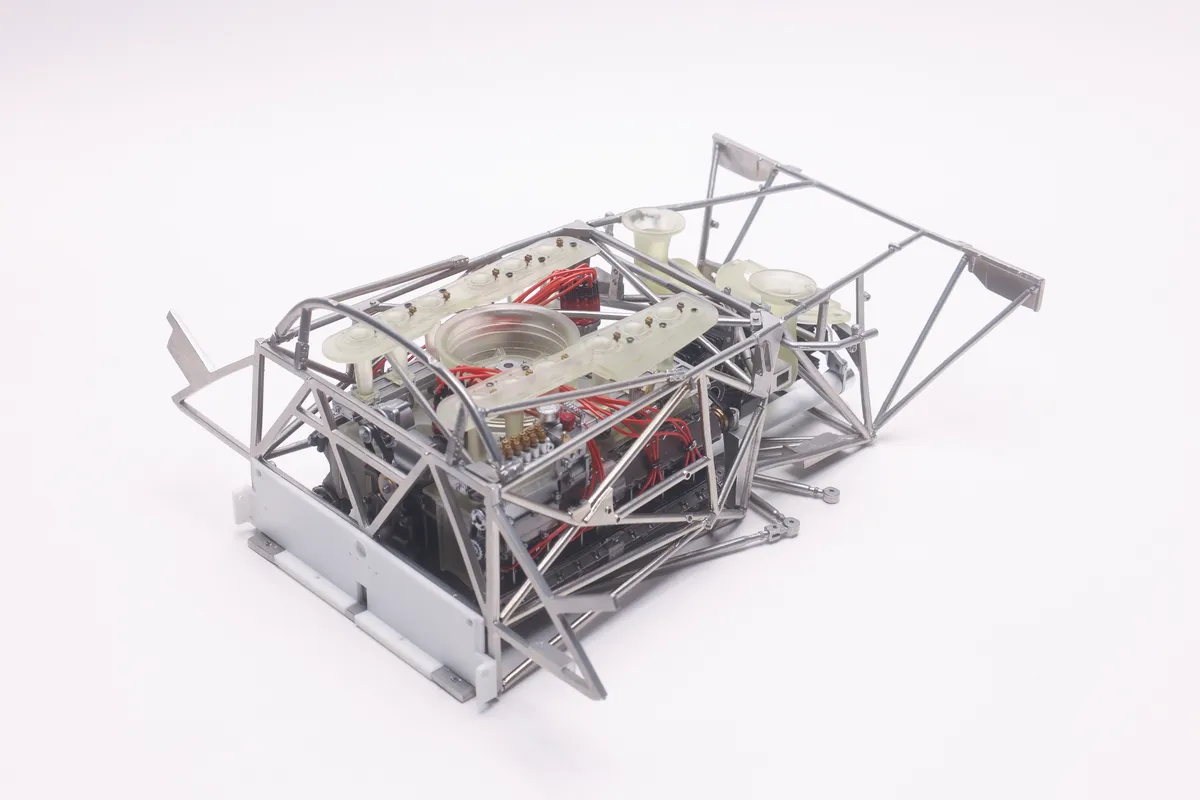
You start the build with the engine, which is nice because it's kind of a "gimme". Anyone with a modicum of model building experience is going to get the engine together just fine.
But immediately after the engine, you get to arguably the biggest challenge of the build:
The rear tube frame.
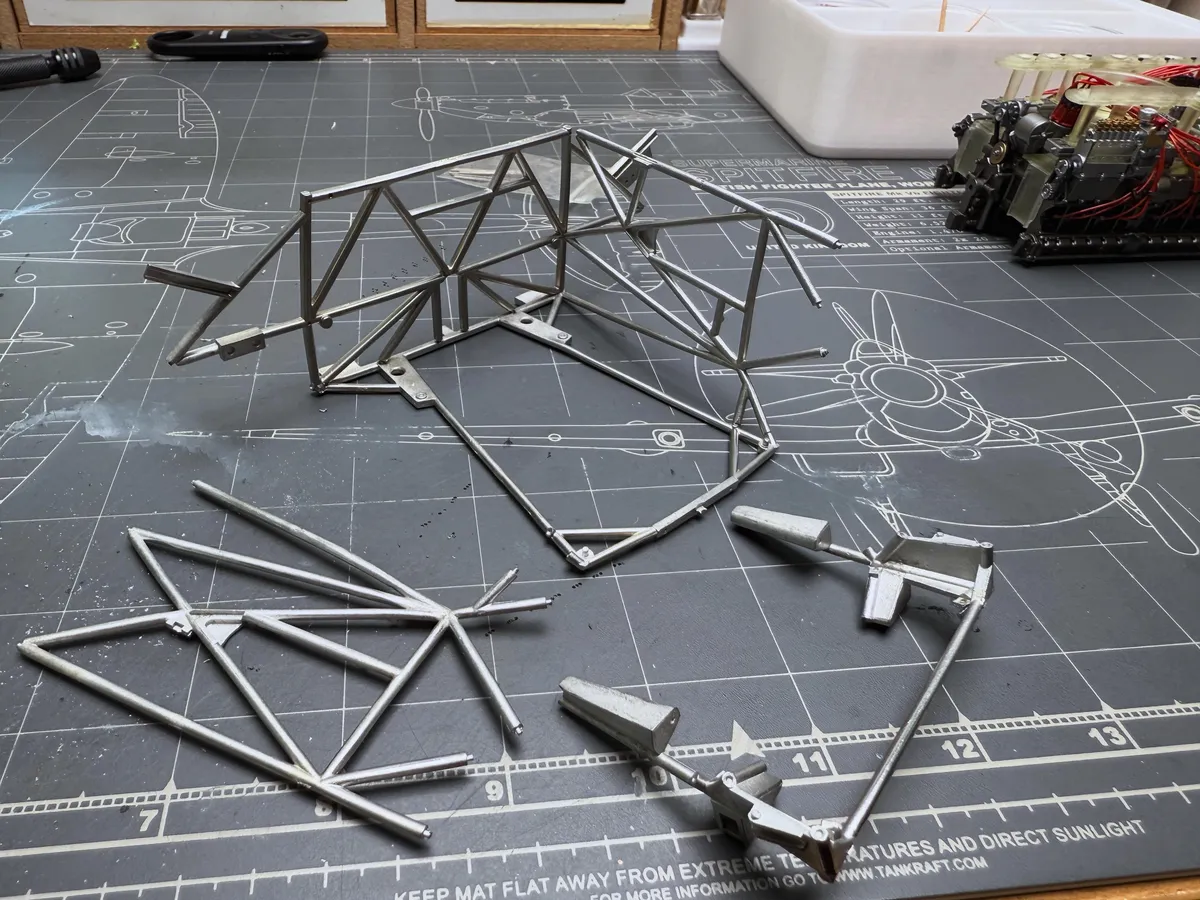
To start with, I had an advantage: I knew to build the frame around the engine.
The instructions specify building the frame and then inserting the engine, but after reading a few forum threads I knew that the engine doesn't fit and modifications are required. So I built around the engine.
This was made easier by the fact that my particular car's frame was left as bare metal and not painted black, which was a small relief.
Because of this, all I had to do to prep the surface finish was clean up the burrs/seam lines and then run them through the tumbler until they were shiny to my liking.
The process that follows is simple, if not easy.
I heard that assembling MFH kits is like a chess match where you have to think 3 steps ahead of your opponent, and you still lose regardless. This is pretty accurate.
With that in mind I set up the body where the rear frame would attach, and started to work out how all of these pieces would go together.
This process involves slowly bending each piece until they fit together, adding the next piece, and re-bending everything now that the fit is thrown off.
And make sure you've drilled all of your holes first!
 For the most part, the fit wasn't terrible and the holes mostly lined up with their associated insertions.
A few key ones did not though, most notably the screw that goes into the bottom of the engine. I had to drill a new hole into the bottom of the engine a few millimeters rearward of the guide molded into it.
That was my first taste of how I'd be taking matters into my own hands in several stages of this build, and it was a good warmup for a green newbie like myself.
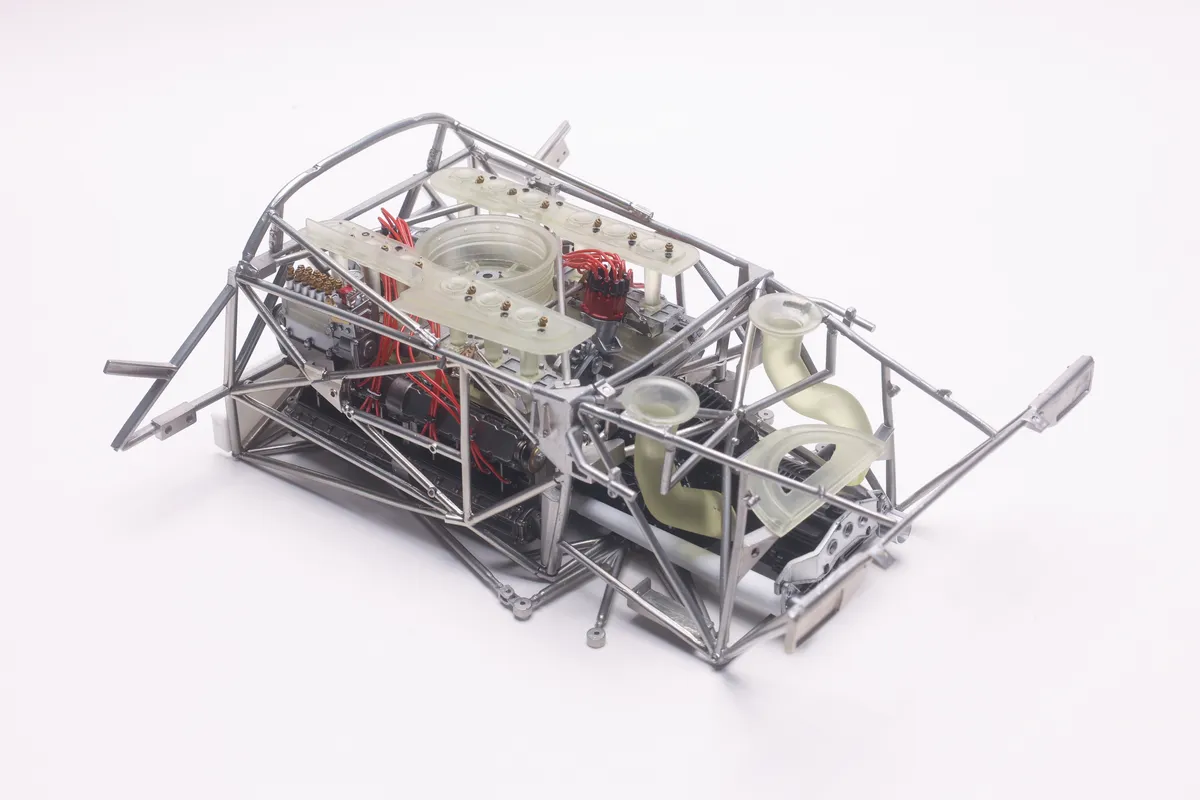
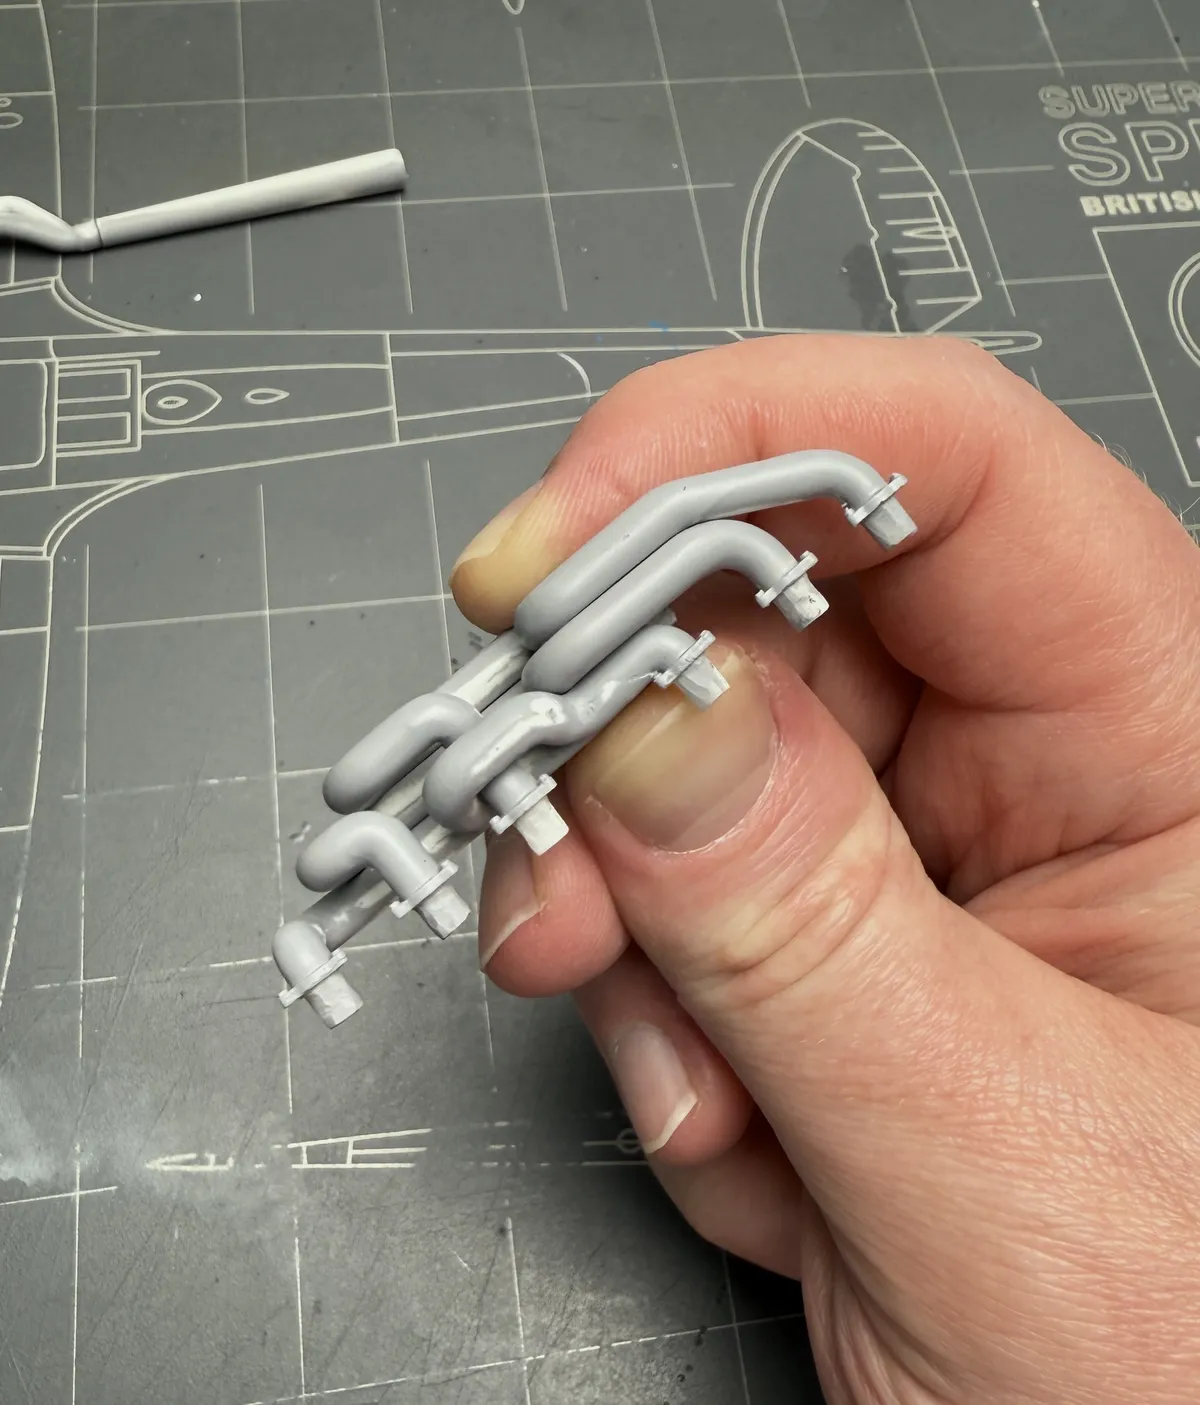
Before committing the engine into the frame I finished up the headers and exhausts, since it sits on those and everything needs to line up for the second, rearward stage of the frame.
Once I had everything dry-fitted as far out as the tape could possibly hold, I started gluing everything together.
Those first glued pieces are nerve wracking, but it's immensely satisfying to see the frame come together.
The big concern is making sure that the engine mounting points line up everywhere, so do not commit that piece to the frame until you are certain that it will sit properly.
Naturally, I snapped that piece in two before I even started this process (because of course I did). So for better or for worse I had more "play" to work with than I otherwise would.